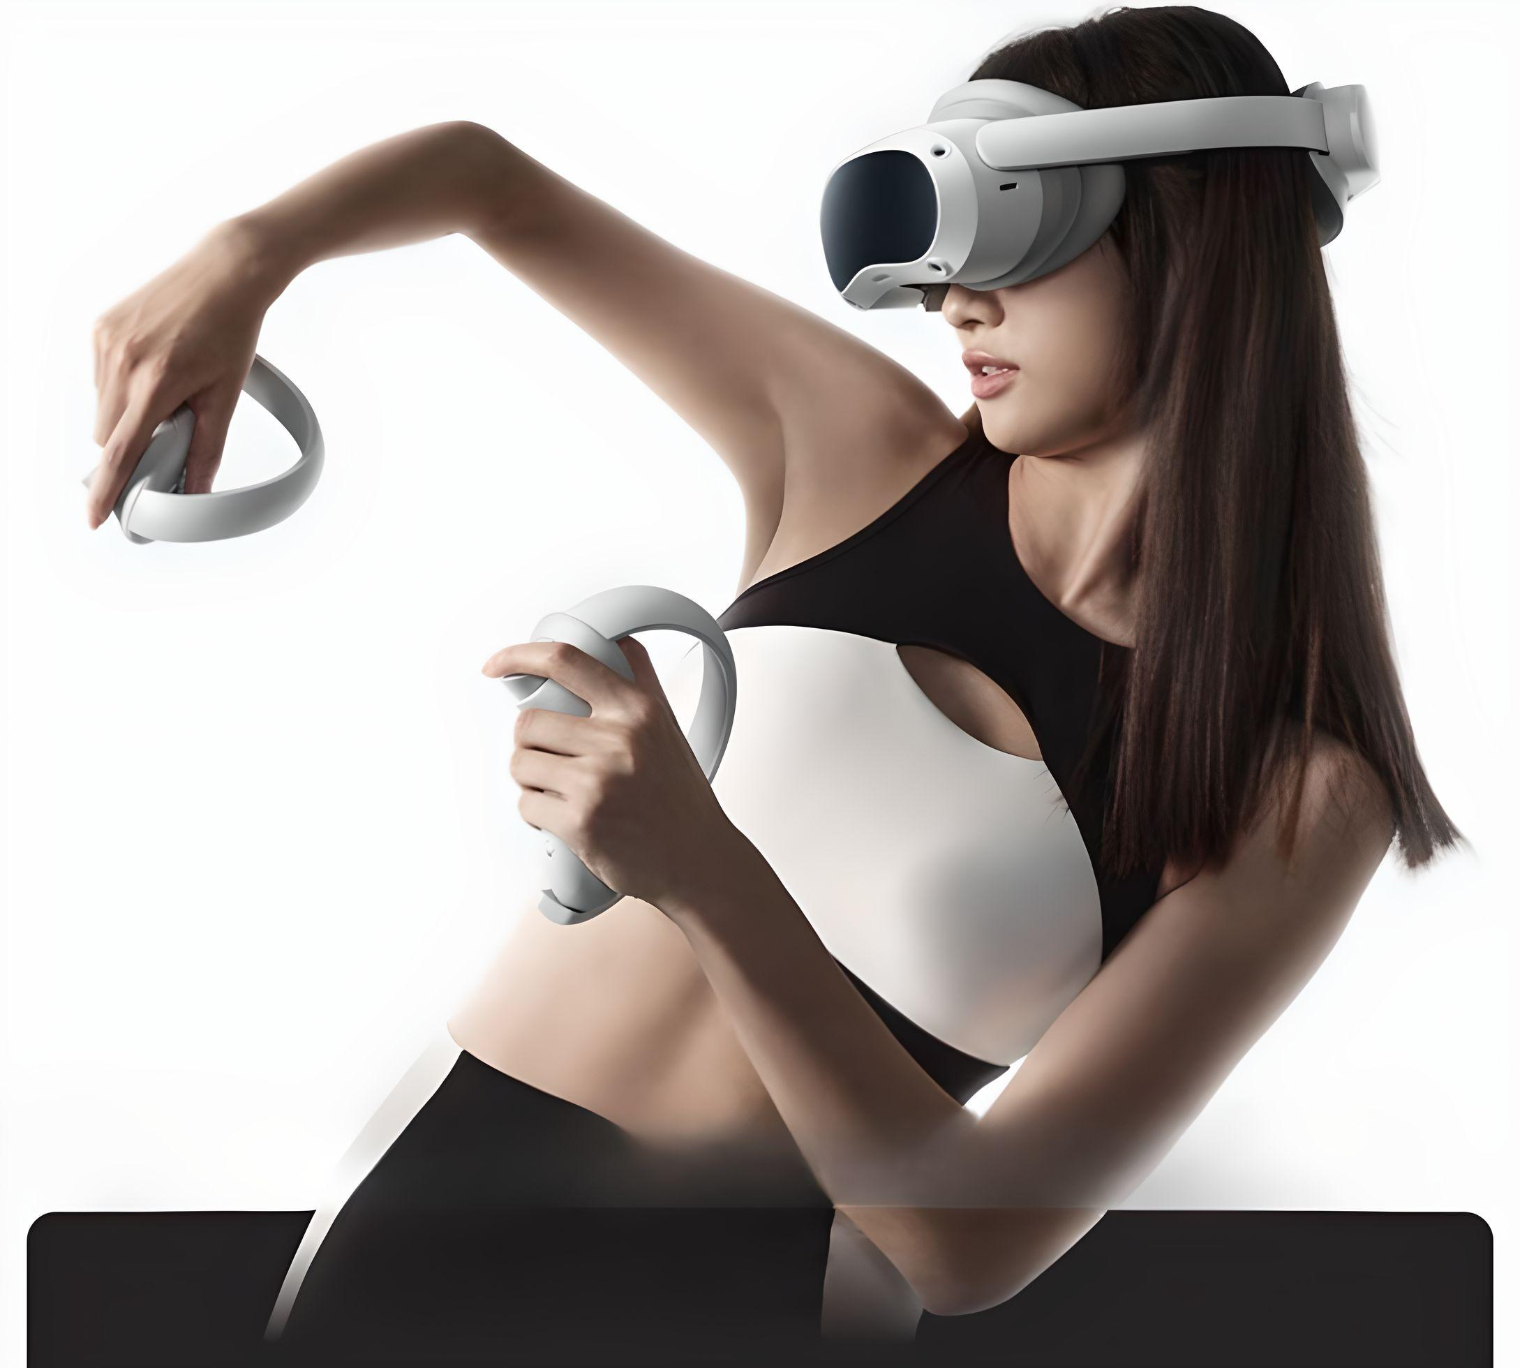
Everything you need to know about the pico 4 vr headset

About the pico 4 

Virtual Reality (VR) technology has been making waves in the gaming and entertainment industry for a while now, offering an immersive experience to users like never before. Among the many VR headsets available in the market, the Pico 4 VR headset stands out with its advanced features and cutting-edge technology. This article will provide a comprehensive introduction to the Pico 4 VR headset, exploring its design, tips, tricks,  performance capabilities and hidden features, to give you an idea of what to expect from this cutting-edge device. Whether you're a gamer, a tech enthusiast, or just someone who wants to experience the future of entertainment, the Pico 4 VR headset is definitely worth keeping an eye on.


How to screencast or share screen on the pico 4 headset 

 Engaging in virtual reality with friends can be a fun and immersive experience, but it can be challenging to follow the in-game action without proper screencasting options. Fortunately, the Pico 4 VR headset comes with built-in screencasting features to address this concern.

To initiate screencasting, navigate to the quick settings menu and select the Screencast option. You will then be presented with three screencasting options, namely smart TV, web browser, and smartphone.

The appropriate screencasting option for you will depend on your available equipment, with detailed instructions provided in the menus. Casting to a smart TV is the preferred option for most users, but it is only possible if the TV runs on the Android operating system.

If your TV does not support Android, there are workarounds you can explore, such as casting to a smartphone and mirroring the phone's screen to the TV or casting to a laptop via a web browser and connecting to the TV with an HDMI cable. By leveraging the Pico 4's screencasting options, users can enhance their VR experiences and share the excitement with others in real-time.


How to change your quick settings on the Pico 4 

 Customising your Pico 4 VR headset to suit your preferences and usage is an excellent way to enhance your overall experience. One simple yet effective way to achieve this is by customising the Quick Settings menu, which offers easy access to frequently used options.

To modify the Quick Settings menu, navigate to the Settings menu, select General, and then choose Shortcuts. In this menu, you can personalise your Quick Settings options by selecting and adding preferred options.

Adding options such as Power to the Quick Settings menu is particularly useful as it offers a convenient and efficient way to reboot or power down the headset after use. This feature demonstrates the Pico 4's commitment to providing a personalised experience for users, enabling seamless and efficient use of the headset.


Important tips for the pico 4 

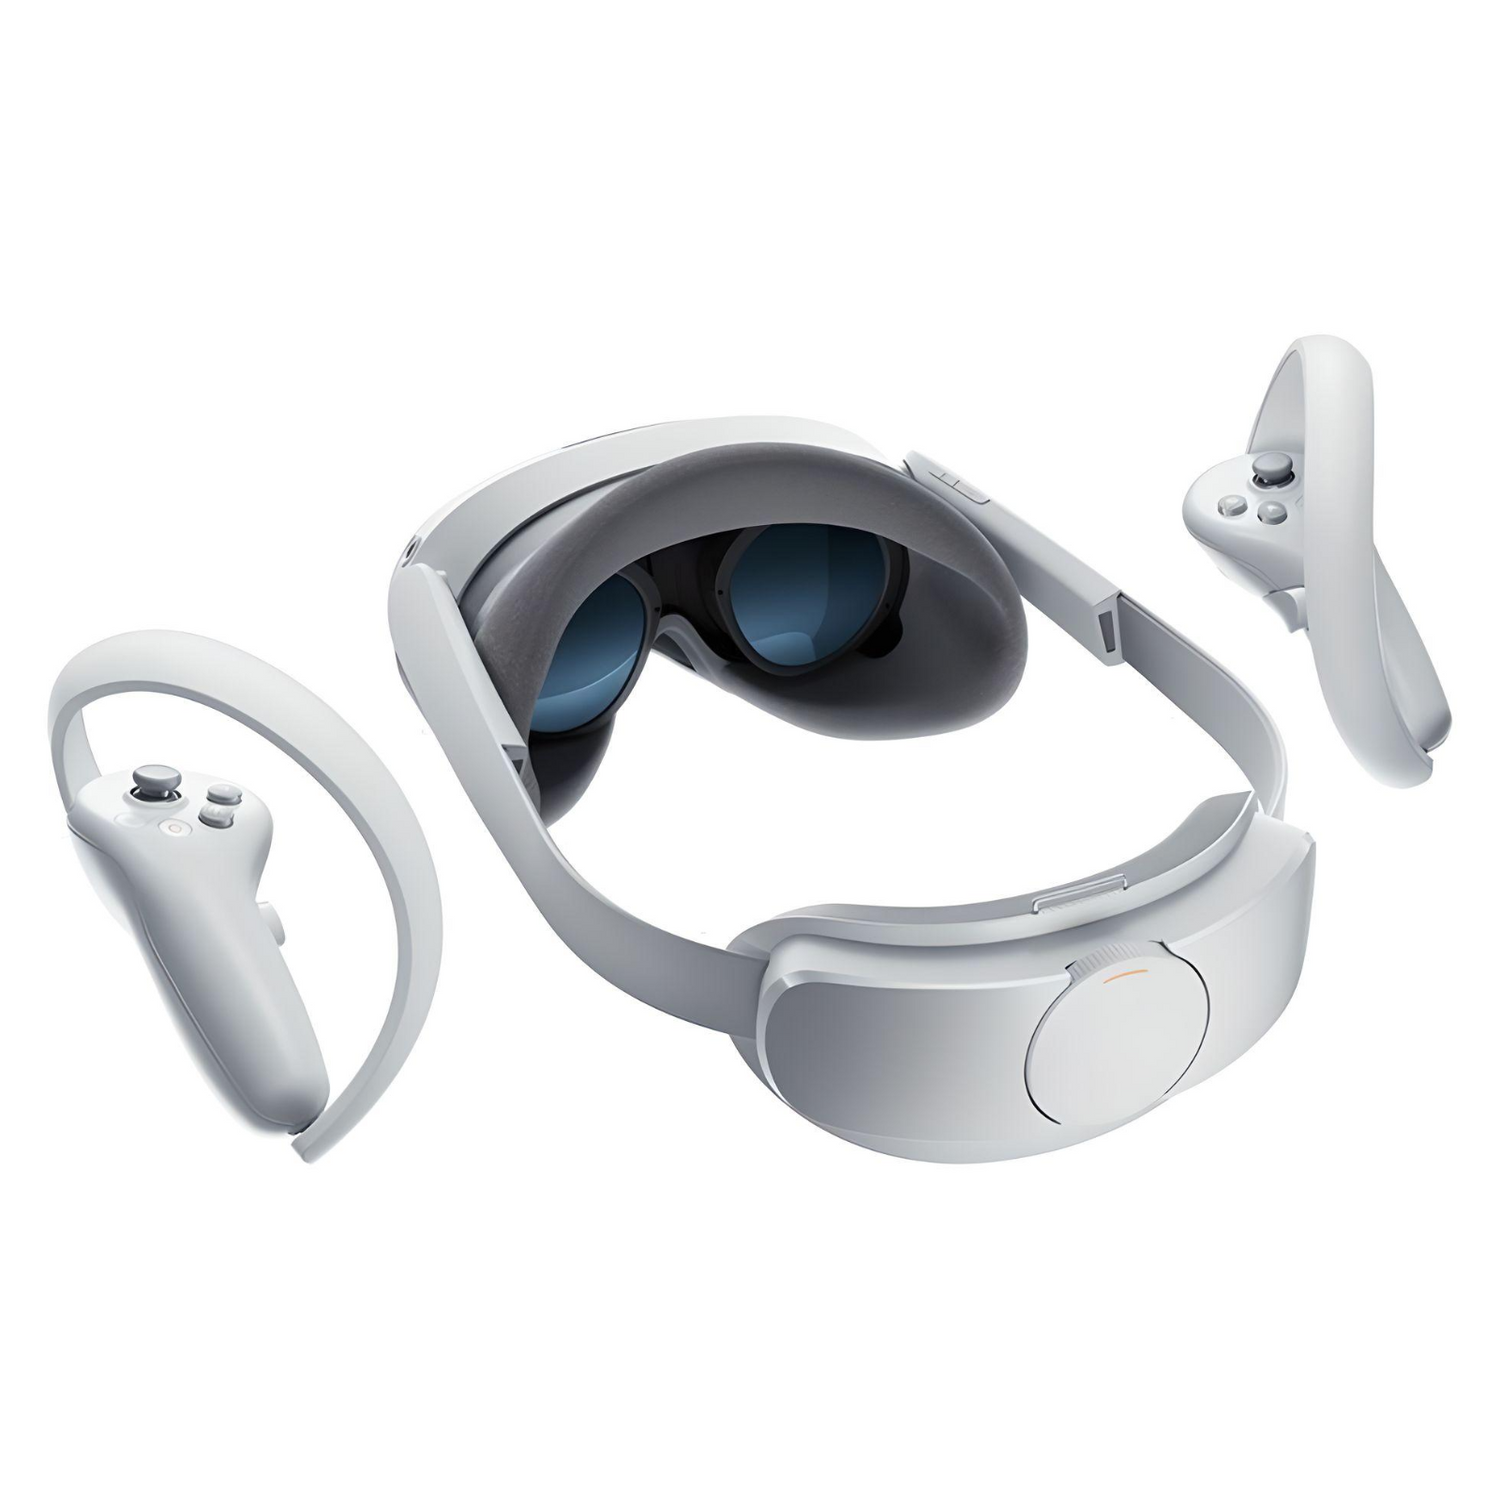
Firstly you should make sure to adjust the nose strap, included in the box.fitting the nose flap is easy, just remove the faceplate and slot the nose strap into position. Not fitting the nose strap can lead to external light-leak which ruins immersion. For more information just go to page 9 of the user manual.

While doing this you may also might need to add the glasses spacer, which is needed if you want to wear glasses while playing VR. The glasses spacer is also included in the box. 

We also recommend regularly cleaning the lens with the lens cloth. Having smudges and dirt on the ruin VRs visuals. 

There are also a few settings we recommend changing.

The passthrough camera allows users to remain connected to the physical world without compromising their immersive experience. To enable this feature, users can access the settings menu, and locate the toggle switch labelled "Quick See Through Mode" within the LAB section.

Upon activating the passthrough camera, users can easily access it with a quick double-tap on the side of their VR headset. This function is highly convenient for a variety of purposes, such as checking one's physical location in a room or taking a brief glance at a phone notification without the need to remove the headset.


We also recommend turning on “90 hz refresh mode” on,  also found in the LAB section. This setting allows you to run games at refresh modes above 70 hz.

How to change your home environment on the Pico 4 


For those who are less inclined towards outer space themes, the virtual reality platform offers a diverse range of home environment options. To access these environments, simply navigate to the Settings menu, followed by the General tab, and select the Virtual Environment option.

While the current range of home environments is somewhat limited, users can opt for the mountain house option, which offers a refreshing and serene atmosphere as an alternative to the default setting.

This feature highlights the platform's commitment to providing a personalised experience for users, catering to individual preferences and ensuring maximum engagement and immersion. As virtual reality technology continues to advance, the possibilities for customising and enhancing user experiences are limitless.

How to record gameplay clips and take screenshots on the pico 4 headset 


Capturing memorable moments on the Pico 4 virtual reality headset is an effortless task. The device features a dedicated button on the right controller adorned with a camera icon. Pressing the button once initiates a snapshot, while holding down the button activates video recording.

To adjust recording settings such as resolution and whether the video includes your microphone audio, navigate to the Settings menu, then to the General tab, and select "Screencasting & Recording."

Accessing saved images and recordings is seamless with the File Manager on the home screen. To share these recordings, the Pico VR app on your smartphone offers the easiest solution. Provided that both the phone and headset are logged into the same account and connected to the same Wi-Fi network, accessing the files is possible by selecting the Devices tab in the app and then navigating to Media.


You can also plug your Pico 4 in your laptop or pc using a USB-C cable. Then you can find the files in the internal shared storage folder, screenshots are saved to pictures and recordings are sent to movies.

 This feature is a testament to the platform's user-friendly design, striving to maximise convenience and accessibility for users. As the virtual reality landscape continues to evolve, the potential for creating and sharing immersive content is limitless.

How to activate hand tracking on the Pico 4 

 The Pico 4 boasts hand-tracking capabilities, a little-known feature that is accessible without downloading additional software. However, this feature is still in the experimental phase and not yet ready for public use, as it is prone to bugs and could benefit from further refinement. To enable it, one must first activate developer mode.

To access developer mode, navigate to Settings, then General, and click on About. Scroll down to Software Version and click on it seven times in rapid succession to become a developer. This process is similar to activating developer mode on an Android phone.

Once developer mode is enabled, a new option called Developer will appear in the Settings menu. Selecting Hand Tracking and enabling it will allow the user to see basic on-screen animations that show the hand gestures for clicking, grabbing, going home, and recentering.

To test the feature, the user needs to place the controllers out of view or turn them off and hold their hands up in front of them. The Pico will start tracking the hand movement, enabling the user to navigate the menus without a controller. However, it is essential to note that support is limited, and no games are compatible with this feature. Nevertheless, this feature can be useful when watching a video in VR and wishing to avoid the controllers.